denture tooth shape guide
Denture Tooth Shape Guide: A Comprehensive Overview (Updated 04/01/2026)
Recent research from the University of Sheffield highlights the emotional impact of tooth loss, alongside advancements like 3D printing, revolutionizing denture design and patient comfort.
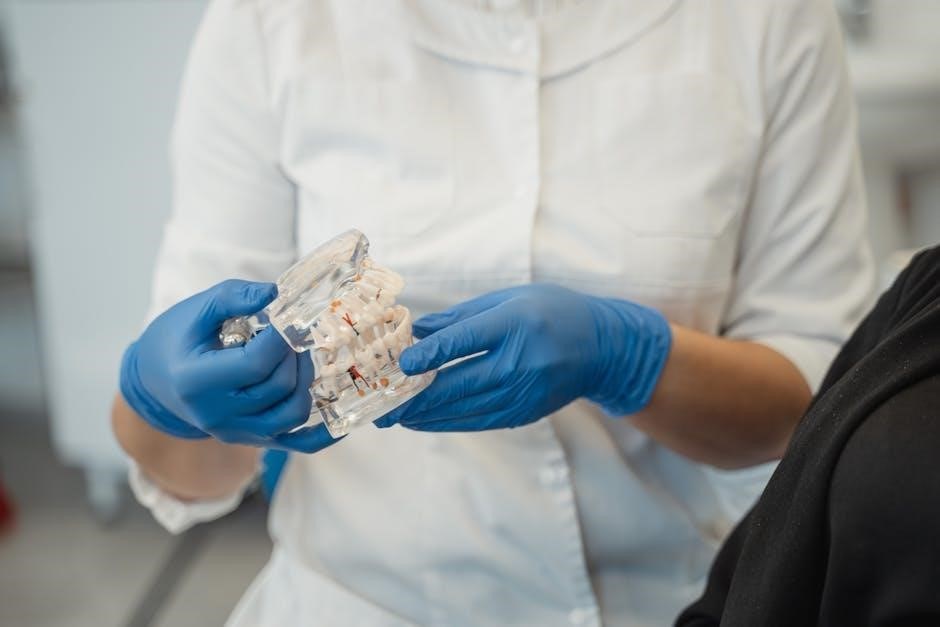
The journey to restoring a smile with dentures involves more than just replacing missing teeth; it’s about recreating a natural, functional, and aesthetically pleasing appearance. Central to achieving this is the careful selection of denture tooth shapes. Historically, dentures were often characterized by a uniform, somewhat artificial look. However, modern dentistry recognizes the significant psychological impact of tooth loss – feelings of self-consciousness, shame, and even fear – and strives to mitigate these through lifelike prosthetics.
Tooth shape profoundly influences facial support, speech, and overall aesthetics. Understanding the various shapes available – from traditional anatomic forms to contemporary tapered and ovoid designs – is crucial for both dental professionals and patients. The evolution of denture technology, including 3D printing and digital design, now allows for unprecedented customization, ensuring a comfortable and confident smile for everyone.
The Psychological Impact of Tooth Loss & Dentures
Tooth loss extends far beyond a functional issue; it carries a significant emotional weight for many individuals. Recent studies, like those from the University of Sheffield, reveal that patients often experience feelings of self-consciousness, shame, or fear following tooth loss, impacting their quality of life. These emotional challenges can affect social interactions, dietary habits, and overall self-esteem.
Dentures, while offering a solution, aren’t simply replacements; they represent a restoration of confidence. However, the success of dentures in addressing these psychological impacts hinges on their natural appearance and comfortable fit. A well-designed denture, with carefully selected tooth shapes, can minimize feelings of artificiality and help patients regain a sense of normalcy and self-assurance, ultimately improving their psychological well-being.
Understanding Denture Base Materials
The foundation of any denture, and a crucial element supporting optimal tooth shape integration, lies in the base material. Traditionally, acrylic resins have been the standard, offering a balance of affordability and ease of modification. However, modern advancements introduce alternative materials like flexible resins, providing enhanced comfort and improved fit, particularly for patients with sensitivities.
Material choice directly influences denture design possibilities. Acrylic allows for straightforward adjustments to accommodate specific tooth shapes and bite alignments. While full dentures covering the entire palate are still common, newer materials enable designs with reduced coverage, enhancing taste and sensation. Understanding these material properties is vital for creating dentures that not only look natural but also function seamlessly with the chosen tooth shapes.
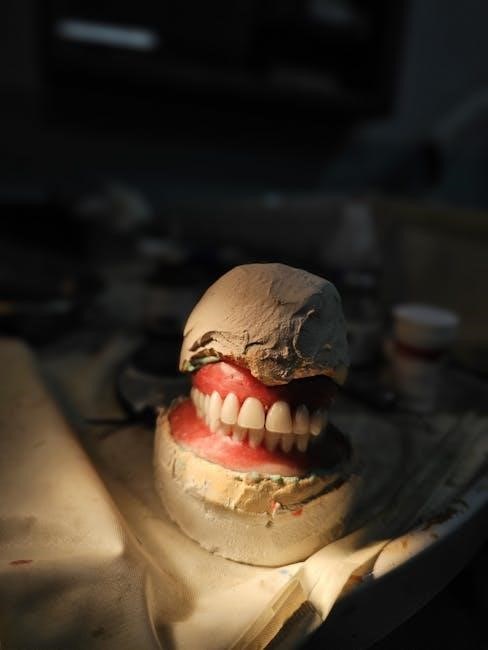
Traditional Denture Tooth Shapes
Classic designs historically featured anatomic, square, tapered, and ovoid forms, aiming for a natural appearance and functional bite, though aesthetics varied considerably.
Anatomic Tooth Shapes
Anatomic denture teeth meticulously replicate the natural form and characteristics of real teeth, featuring distinct cusps, grooves, and anatomical landmarks. These shapes prioritize a lifelike appearance and aim to mimic the function of natural dentition as closely as possible. Historically, they were a standard choice, favored for their perceived naturalism and ability to integrate with existing oral structures.
However, achieving optimal function with purely anatomic shapes can sometimes be challenging, particularly in cases of significant bite discrepancies or limited interocclusal space; Careful consideration must be given to occlusal harmony and proper articulation during the denture fabrication process. While offering excellent aesthetics, they may require more adjustments to ensure comfortable chewing and prevent excessive stress on the jaw joints. Modern advancements are often combined with anatomic forms to enhance both function and appearance.
Non-Anatomic Tooth Shapes
Non-anatomic denture teeth deviate from the precise replication of natural tooth form, presenting simplified shapes with fewer cusps and grooves. These designs prioritize function and ease of articulation over strict aesthetic realism. They are often favored when dealing with reduced interocclusal space or challenging bite relationships, as their smoother surfaces require less vertical dimension.
Historically, non-anatomic shapes were popular for their ease of fabrication and reduced adjustment requirements. While they may not possess the same level of lifelike detail as anatomic teeth, modern materials and techniques allow for surprisingly natural-looking results. They can be particularly beneficial for patients experiencing difficulties with chewing or jaw discomfort, offering a more comfortable and efficient bite. Combining these shapes with advanced denture base materials can yield excellent functional outcomes.
Square Tooth Shapes
Square tooth shapes in dentures feature flat occlusal surfaces and straight, defined edges, creating a robust and stable biting platform. These shapes are characterized by their lack of pronounced cusps or tapering, offering a broad contact area for efficient food processing. Historically, square teeth were frequently utilized, particularly in complete dentures, due to their ease of fabrication and predictable function.
While perhaps less aesthetically refined than other options, square teeth excel in providing a secure and confident bite, especially for patients with limited interocclusal space. They distribute chewing forces evenly, minimizing stress on the denture base and underlying tissues. Modern advancements allow for subtle modifications to square shapes, softening edges for improved aesthetics without compromising functionality. Careful consideration of facial form and patient needs is crucial when selecting this shape.
Tapered Tooth Shapes
Tapered denture teeth mimic the natural contours of youthful dentition, featuring gradually narrowing incisal and cuspal edges. This design promotes a more natural appearance and enhances aesthetics, particularly in the anterior region. The tapering creates a softer, more organic look, blending seamlessly with the surrounding facial tissues and lip support.
Functionally, tapered teeth guide food into proper occlusion, facilitating efficient chewing and reducing strain on the temporomandibular joint. They offer a balanced combination of form and function, suitable for a wide range of patients. Modern materials and manufacturing techniques allow for precise control over the degree of taper, customizing the shape to individual needs. These shapes are often favored when restoring a natural, youthful smile and optimizing bite stability.
Ovoid Tooth Shapes
Ovoid denture teeth present a rounded, elliptical form, offering a softer and more gentle aesthetic compared to sharper, more angular designs. This shape is particularly beneficial for patients experiencing significant lip support loss, as the rounded contours provide a fuller, more youthful appearance. The smooth transitions of ovoid teeth minimize harsh lines and create a harmonious blend with the facial profile.
From a functional perspective, ovoid shapes distribute chewing forces more evenly across the denture base, reducing stress on the underlying tissues. They are often preferred for patients with limited interocclusal space or those seeking a comfortable, natural-feeling bite. Contemporary advancements in denture design allow for precise customization of ovoid tooth dimensions, ensuring optimal aesthetics and function tailored to each individual’s unique needs.
Modern Advancements in Denture Tooth Design
Innovative technologies, including 3D printing and digital design, are transforming dentures, offering enhanced customization, precision, and material options for improved fit and aesthetics.
3D Printed Denture Teeth
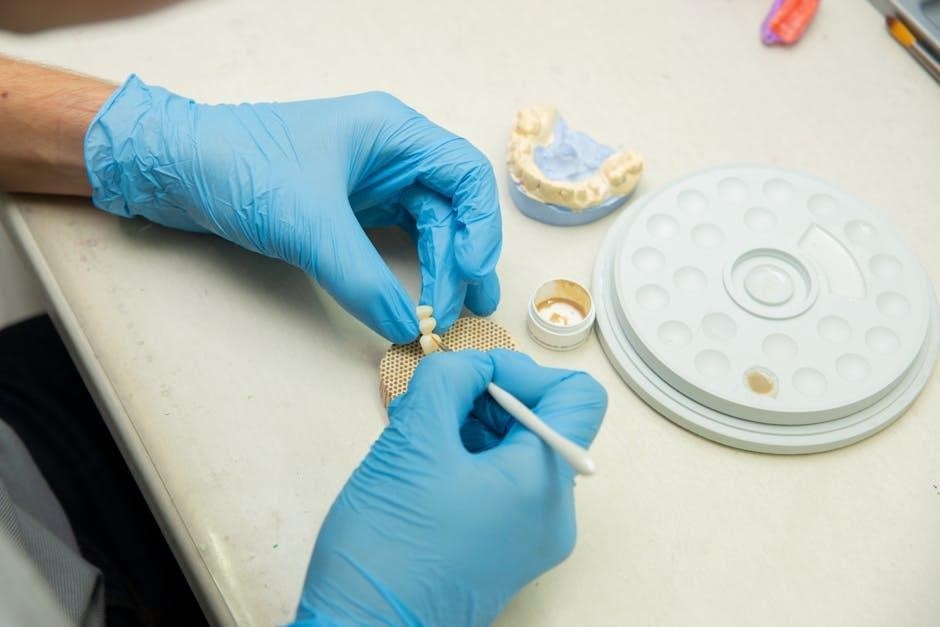
The advent of 3D printing represents a significant leap forward in denture technology. Traditionally, dentures were crafted using time-consuming manual processes, often resulting in variations and limitations in precision. Now, 3D printing allows for the creation of highly accurate and customized denture teeth, directly from digital designs.
This technology enables dental professionals to fabricate dentures with intricate details and optimized shapes, tailored to each patient’s unique oral anatomy. The process involves using specialized materials, like acrylic resins, which are layered precisely to build the desired tooth structure. Benefits include reduced manufacturing time, improved fit, enhanced aesthetics, and the potential for more affordable dentures.
Furthermore, 3D printing facilitates the creation of complex designs that were previously difficult or impossible to achieve with conventional methods. This opens up possibilities for personalized denture solutions, addressing individual patient needs and preferences with greater accuracy and efficiency. The future of dentures is undeniably linked to the continued development and refinement of 3D printing technologies.
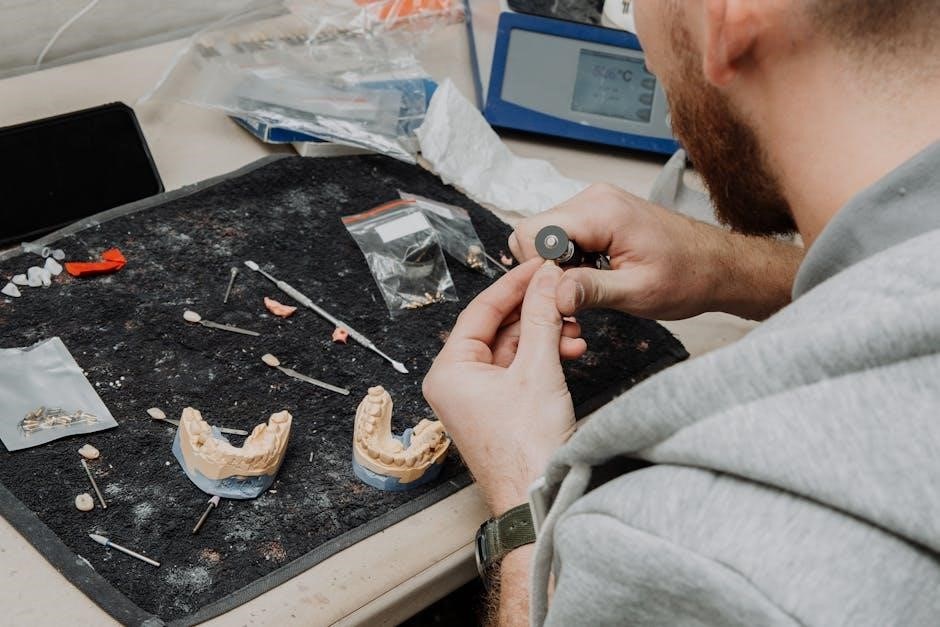
Digital Denture Design & Customization
Modern denture fabrication increasingly relies on digital workflows, transforming the process from largely manual to highly precise and customizable. Digital denture design begins with capturing a detailed scan of the patient’s mouth, creating a virtual model of their oral tissues; This scan serves as the foundation for designing the denture base and selecting appropriate tooth shapes and arrangements.
Sophisticated software allows dental technicians to manipulate the design, adjusting tooth positioning, contours, and shades to achieve optimal aesthetics and function. Patients can even preview the final result before fabrication, ensuring satisfaction with the appearance. This level of customization was previously unattainable with traditional methods.
Digital design also streamlines the manufacturing process, often integrating seamlessly with 3D printing or milling technologies. The result is dentures that fit more comfortably, look more natural, and meet the unique needs of each individual, representing a significant advancement in restorative dentistry.
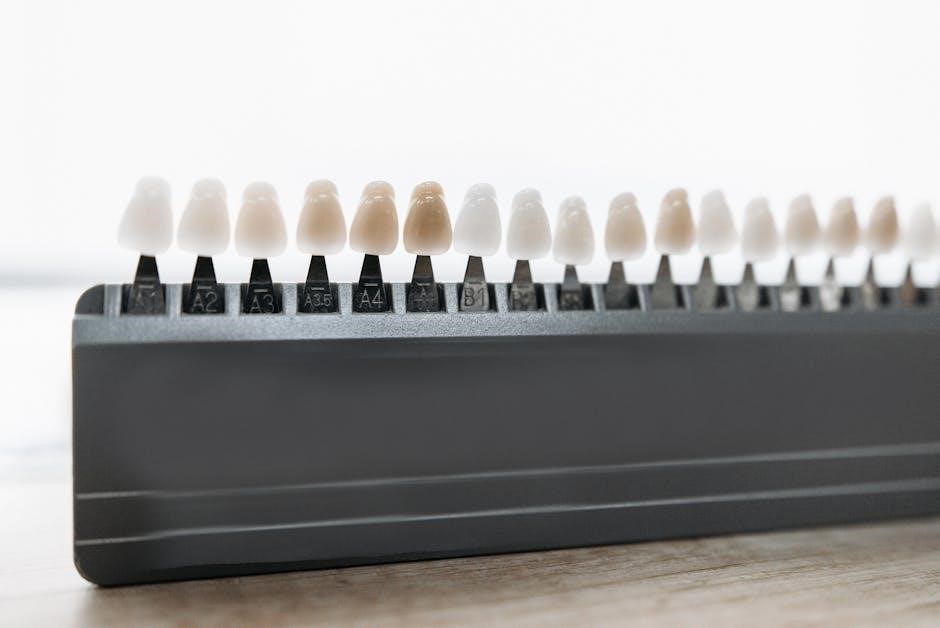
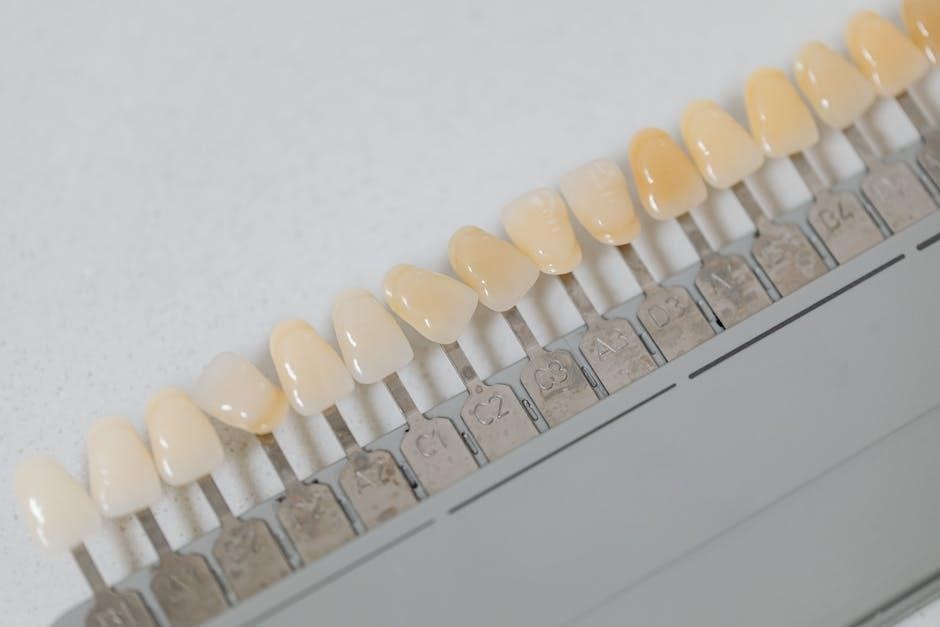
Materials Used in Modern Denture Teeth (Acrylic, Porcelain, Composite)
Contemporary dentures utilize a range of materials beyond traditional options, each offering distinct advantages. Acrylic remains a popular choice due to its affordability, ease of processing, and ability to mimic natural gum tissues. However, it’s less resistant to wear than other materials.
Porcelain teeth, known for their exceptional aesthetics and durability, provide a lifelike appearance and resist staining effectively. They are, however, more brittle and can cause wear on opposing natural teeth. Composite resin teeth represent a middle ground, offering a balance of aesthetics, durability, and affordability.
Recent advancements include newer acrylic formulations with improved wear resistance and composite materials designed to closely replicate the translucency of natural teeth. The selection of material depends on factors like patient budget, aesthetic preferences, and functional demands, ensuring optimal denture performance.
Factors Influencing Tooth Shape Selection
Careful consideration of facial structure, patient age, and existing dentition are crucial for selecting appropriate tooth shapes, alongside achieving proper bite alignment.
Facial Structure & Lip Support
The relationship between denture tooth shape and facial aesthetics is profoundly significant. A well-chosen tooth shape directly impacts lip support, preventing the sunken appearance often associated with tooth loss and traditional dentures. Analyzing a patient’s facial structure – including the jawline, chin prominence, and overall symmetry – is paramount.
Anatomic tooth shapes, mimicking natural teeth, generally provide better lip support, restoring facial volume and a more youthful profile. Conversely, non-anatomic shapes might require adjustments to the denture base to compensate for reduced support. The goal is to recreate the natural contours of the face, enhancing the patient’s confidence and overall appearance.
Furthermore, understanding how the teeth interact with the lips during speech and smiling is vital. Incorrect tooth shape can lead to whistling or difficulty articulating certain sounds. A comprehensive assessment ensures both functional and aesthetic harmony.
Patient’s Age & Existing Dentition
Considering a patient’s age and the condition of their remaining teeth – if any – is crucial when selecting denture tooth shapes. Younger patients often benefit from more natural, anatomic shapes that blend seamlessly with their existing dentition, preserving a youthful appearance. For those with significant wear on remaining teeth, replicating the original contours might be desirable.
Older patients, who may have experienced more extensive tooth loss and facial changes, might require different considerations. Shapes offering enhanced lip support and improved chewing efficiency become paramount. The psychological impact of tooth loss, as recent studies show, can be significant, influencing aesthetic preferences.
Existing dentition also informs the choice between tapered, ovoid, or square shapes. Matching the overall aesthetic of the remaining teeth ensures a harmonious and natural-looking result. Careful evaluation prevents a jarring contrast and promotes patient satisfaction.
Occlusion & Bite Alignment
Achieving proper occlusion and bite alignment is paramount when selecting denture tooth shapes. The chosen shapes must facilitate a balanced bite, preventing undue stress on the jaw joints and surrounding tissues. Incorrect alignment can lead to discomfort, difficulty chewing, and even temporomandibular joint (TMJ) disorders.
Anatomic tooth shapes often lend themselves well to natural occlusion, mimicking the function of natural teeth. However, adjustments may be necessary based on the patient’s unique bite. Modern advancements, like digital denture design, allow for precise customization of tooth positioning and occlusal surfaces.
Careful consideration must be given to the curvature of the occlusal plane and the relationships between upper and lower teeth. A well-designed occlusion ensures efficient chewing, speech clarity, and a comfortable, stable denture. Recent research emphasizes the importance of patient comfort alongside aesthetics.
Specific Tooth Shape Considerations
Anterior teeth impact aesthetics, while posterior shapes prioritize function; modern dentures, even 3D printed ones, require careful shape selection for optimal results.
Anterior Tooth Shapes (Incisors & Canines)
The shape of anterior teeth – incisors and canines – profoundly influences a patient’s smile aesthetics and perceived age. Traditionally, incisor shapes ranged from square and tapered to ovoid, each creating a distinct visual effect. Square shapes often project a youthful appearance, while tapered shapes can soften facial features. Ovoid shapes offer a more natural, rounded look.
However, modern advancements allow for greater customization. Digital denture design enables precise replication of existing dentition or creation of entirely new, aesthetically pleasing shapes. Considerations extend beyond mere form; the length, width, and arrangement of these teeth significantly impact lip support and facial harmony. Patients experiencing self-consciousness or shame related to tooth loss benefit from carefully selected shapes that restore confidence and a natural smile. The goal is to achieve a balanced and harmonious appearance, reflecting the patient’s individual preferences and facial structure.
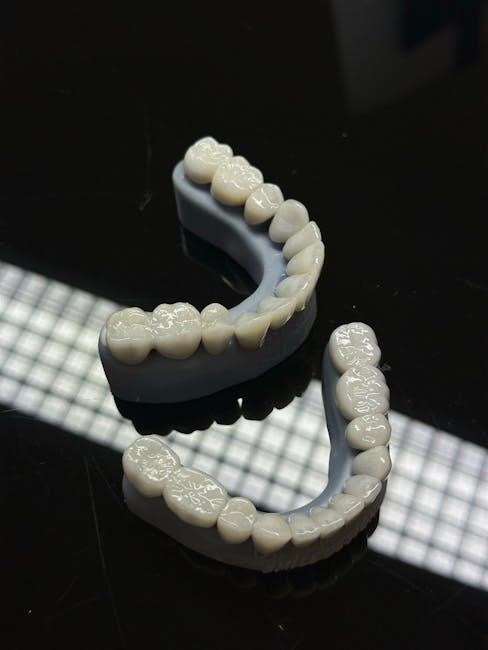
Posterior Tooth Shapes (Premolars & Molars)
While less visually prominent than anterior teeth, the shapes of premolars and molars are crucial for functional denture success. These posterior teeth primarily handle chewing forces, demanding shapes that facilitate efficient grinding and bolus preparation. Traditionally, these teeth featured more robust, cusp-shaped designs to maximize surface area and grip during mastication.
Modern denture design, including 3D printed options, allows for nuanced adjustments to posterior tooth morphology. Digital customization can optimize occlusal surfaces for improved bite alignment and reduced stress on the temporomandibular joint. The selection considers the patient’s existing bite, facial structure, and any remaining natural teeth. Proper posterior tooth shape is vital for preventing denture instability and ensuring comfortable, effective chewing, ultimately contributing to overall patient satisfaction and well-being, addressing physical sensations related to tooth loss.
The Role of Tooth Shape in Aesthetics
Tooth shape profoundly impacts a denture wearer’s appearance and self-confidence. Beyond simply replacing missing teeth, carefully selected shapes harmonize with facial contours, restoring lip support and a natural smile line. Patients often experience self-consciousness and shame following tooth loss; aesthetic dentures directly address these emotional challenges.
Anterior tooth shapes, particularly incisors and canines, are paramount in creating a youthful and pleasing aesthetic. Modern advancements, like digital denture design, allow for highly customized shapes, mimicking natural dentition. The goal is to avoid a “denture look” by replicating subtle variations in tooth form and arrangement. Considering the psychological impact, a well-designed denture can significantly improve a patient’s quality of life, reducing feelings of fear and restoring a positive self-image, even with 3D printed options.
Maintaining Denture Tooth Shape & Function
Regular dental check-ups and diligent cleaning are crucial for preserving denture integrity, addressing adjustments, and ensuring continued aesthetic appeal and functional performance.
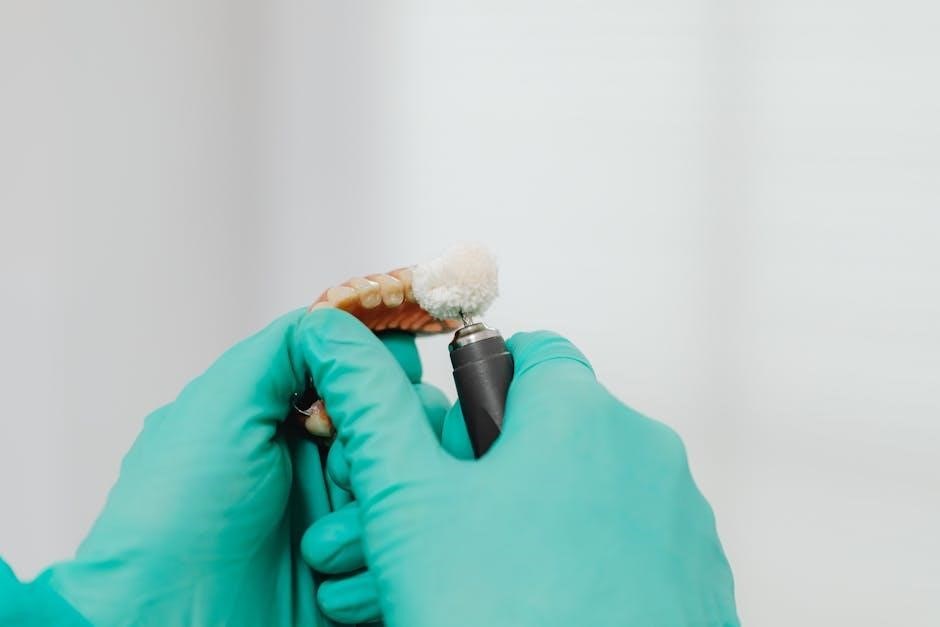
Proper Denture Care & Cleaning
Maintaining optimal denture hygiene is paramount for both oral health and the longevity of the appliance. Daily cleaning removes food particles, plaque, and stains that can accumulate, leading to odor and potential irritation. Dentures should be brushed at least twice daily using a soft-bristled brush and a specialized denture cleanser – avoiding regular toothpaste, as it’s abrasive and can damage the acrylic or porcelain.
Soaking dentures overnight in a denture-cleaning solution is also essential. This helps maintain their shape and prevents dryness. When not wearing dentures, they should always be stored in water or a denture solution to prevent warping. Avoid hot water, which can distort the denture base. Regular professional cleaning and polishing by a dentist are vital to remove stubborn stains and ensure a proper fit, contributing to overall denture function and aesthetic appeal.
Regular Dental Check-ups & Adjustments
Consistent professional dental visits are crucial, even with dentures, to monitor oral health and denture fit. The mouth changes over time, necessitating periodic adjustments to ensure continued comfort and functionality. Dentists can identify and address issues like sore spots, ill-fitting areas, or changes in bite alignment that can develop with denture wear.
These check-ups also allow for early detection of oral pathologies, such as oral cancer, which can be more challenging to identify in denture wearers. Denture adjustments, relining, or even replacement may be required to maintain optimal performance. A dentist can assess the denture tooth shape and provide guidance on maintaining aesthetics and preventing future problems, ensuring long-term satisfaction and oral wellbeing.